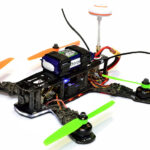
Most boards in the Blackout Mini H Quad have an LED to indicate it’s powered up (ie; Naze32, Bluetooth, VTX), except the Sony 1/3″ 800TVL Effio-V FPV camera.
After clipping a tree branch (which actually dislodged the FPV camera out of the frame), the FPV camera became very intermittent, which turned out to be a broken power supply wire.
It would have been nice to know if the FPV camera was actually powered up (or not) with a power LED.
To do this mod, you WILL need advanced SMD skills, a fine tipped soldering iron, fine solder, a maggy lamp, as well as the SMD parts… but you already knew that. 😉
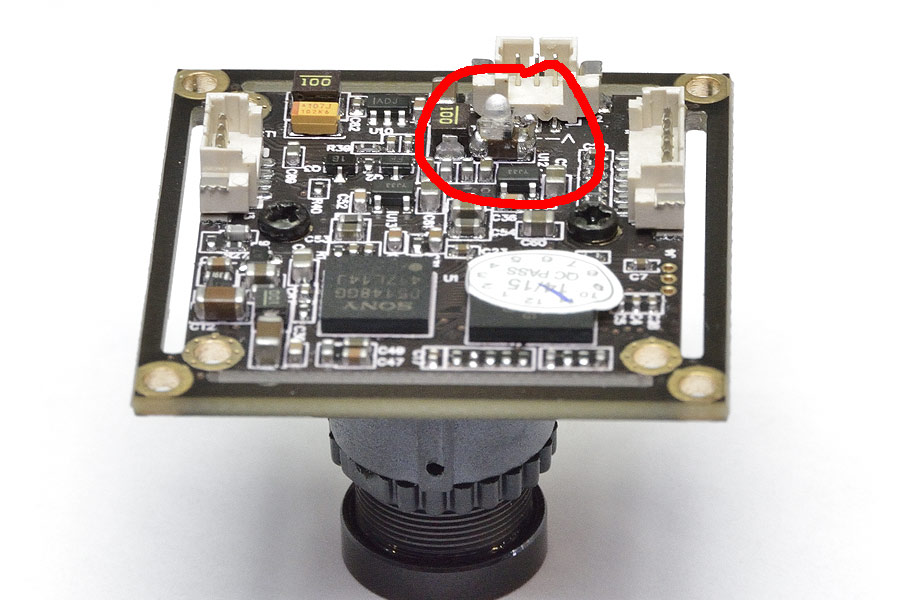
First thing to do was check the camera board with a multimeter to see if the +12V appeared at a convenient point to pick off.
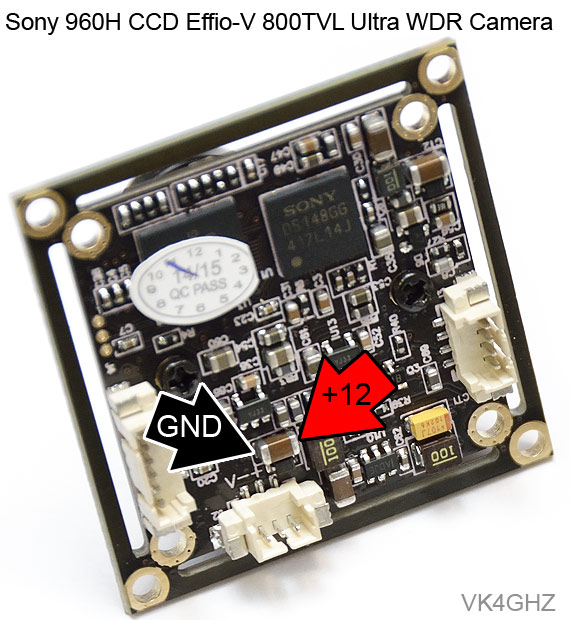
Power was found across an 0805 ceramic bypass cap, just above the 3-way Video/GND/+12 connector.
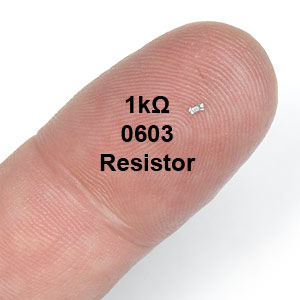
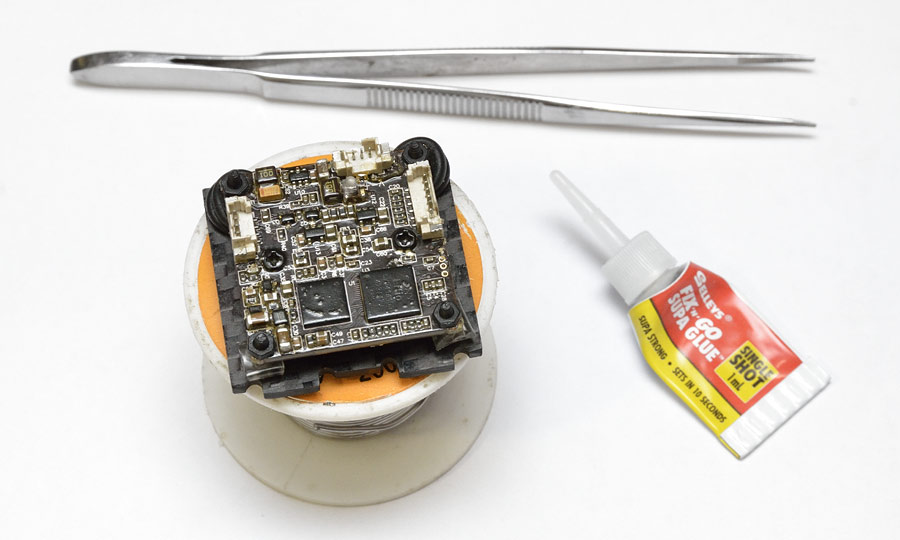
As luck would have it, some reclaimed 0603 1KΩ resistor were on hand, as well as some tiny SMD LEDs.
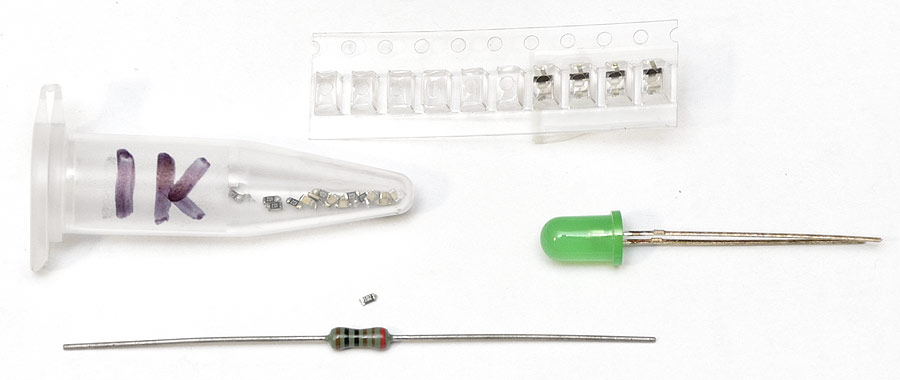
0603 parts are small. You can see the difference in size above, compared to a regular through-hole 0.6W 1% metal film resistor.
Also above, the SMD LEDs compared to a standard 5mm LED.
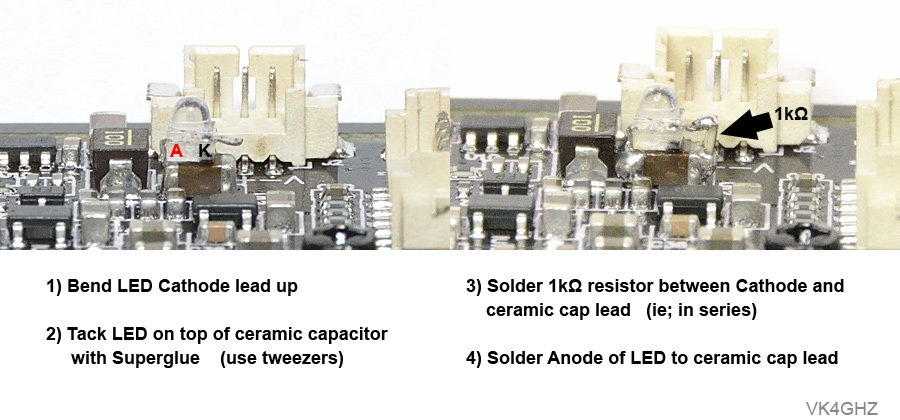
Basically, we fit the LED in parallel with the ceramic capacitor (ie; across the supply line) via a 1k current limiting resistor.
I found it easy to work on the camera, if it sits on top of another roll of solder, like so:
I’m actually modifying both of my cameras in one session, so there’s a mixture of photos. The camera above has been protected against moisture (from damp grass etc) with lacquer, as detailed in a previous article.
Once you have ascertained it’s polarity, tack the LED in place with a small dob of superglue, and fit using tweezers:
Testing. Camera plugged into the loom:
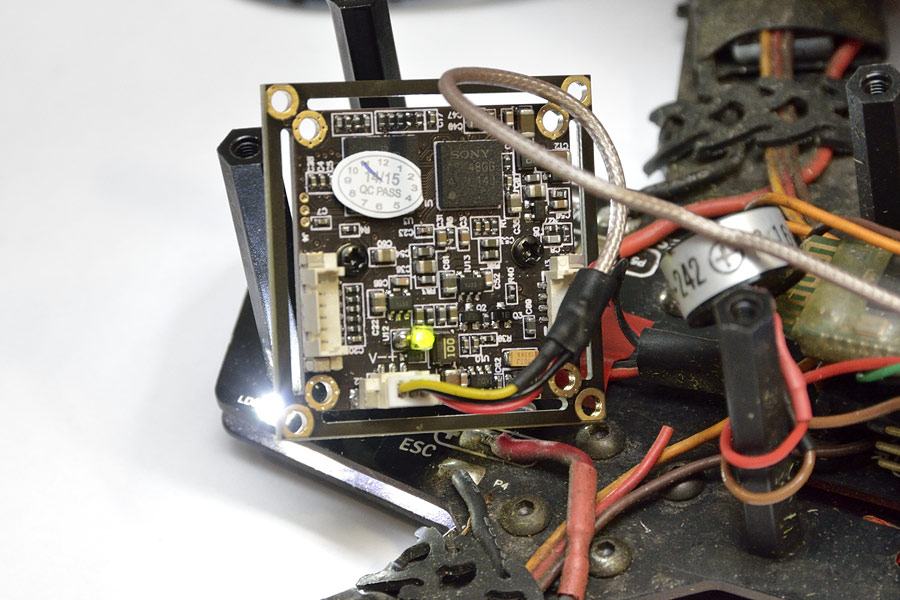
The actual flight camera (the one sprayed with lacquer), modified, and installed back inside the Blackout frame:
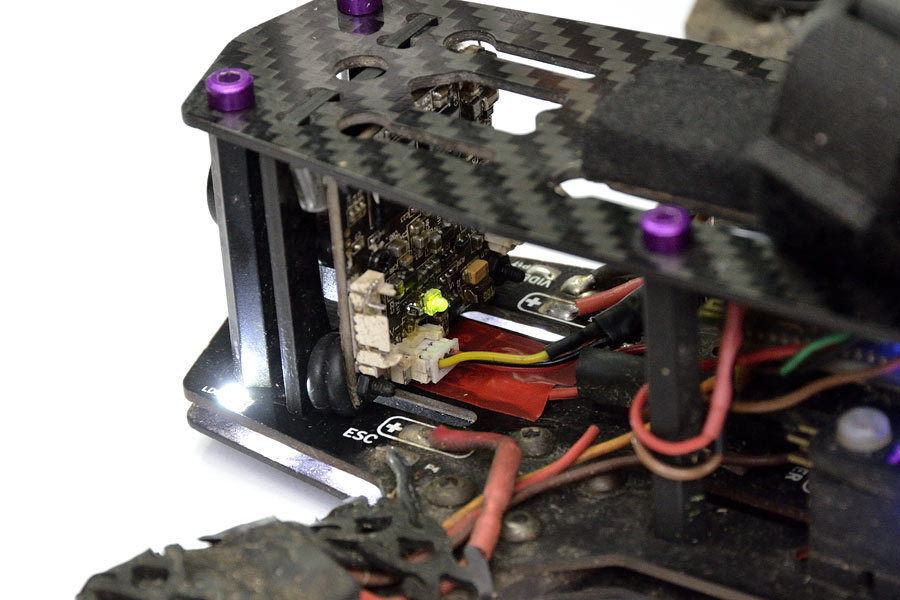
Very easy to instantly see whether it has power, or not.
🙂