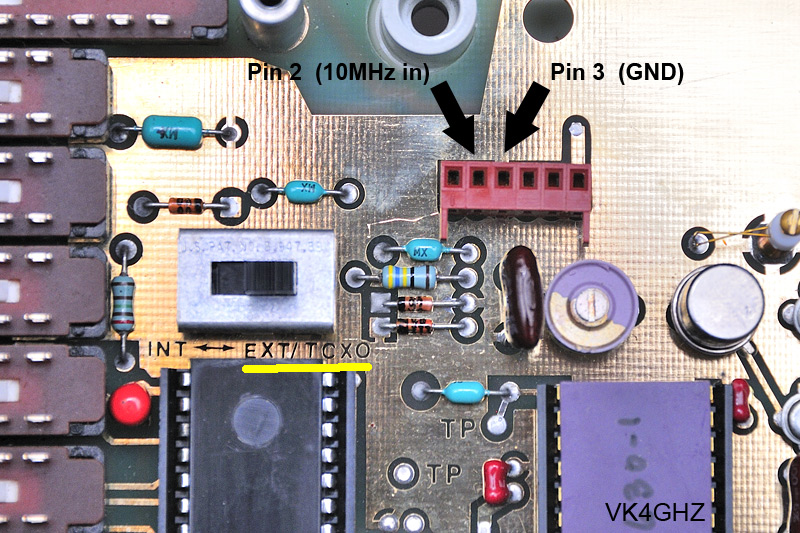
I was recently considering the purchase of one these 2.7 GHz frequency counters, available from Jaycar and other suppliers.
Although 2.7 GHz capability is very appealing, a primary requirement was to have the ability to lock it to the shack 10 MHz Master Reference, a Trimble Thunderbolt GPS Disciplined Oscillator (GPSDO).
After much digging on the internet, I discovered this counter has a 13 MHz timebase. 😥
It would be possible to lock it to the Thunderbolt, with additional circuitry, but this idea was put in the too hard bin!
Meanwhile, sitting here in a dark corner of the shack was a HP 5315A Universal Counter.
I actually purchased this from auction site Grays Online over a year ago.
It was part of a lot, which I purchased for the other item, and not the (unloved) HP 5315A.
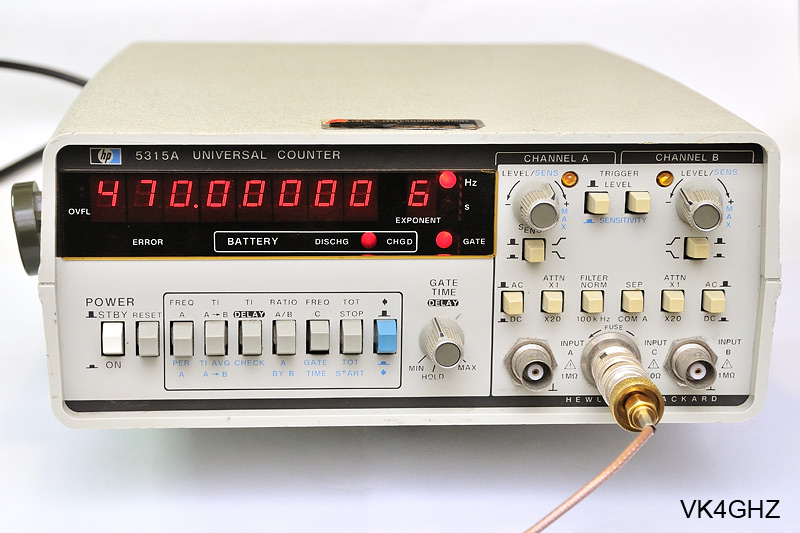
Above: HP 5315A. Can be obtained for under $100 from auction and surplus equipment suppliers.
Exponent shows “6”, meaning Mega, and this is reading 470.0 MHz.
The gate time can be increased, shifting the display one or two places to the left, depending on the desired resolution.
In it’s basic form, the HP 5315A is a dual-input 100 MHz counter (yawn!), with all sorts of counting functions.
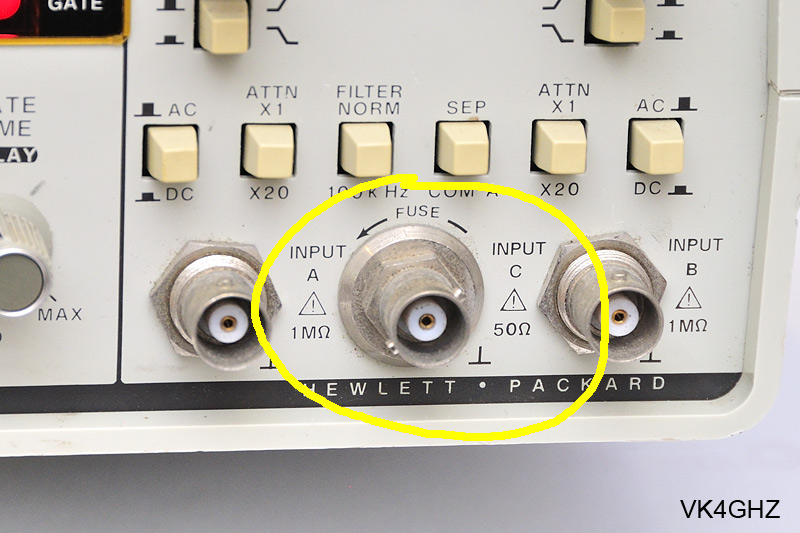
However, a closer look revealed “Option 003 Input C” was fitted… a third input extending the range to 1 GHz.
Not 2.7 GHz, but very useful none the less.
What was it’s internal timebase?
10 MHz! 😀
Not only that, this counter has provision for an optional internal 10 MHz Temperature Controlled Crystal Oscillator (TCXO) option.
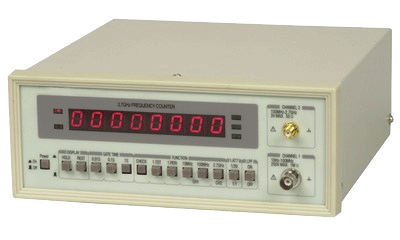
It simply plugs into the 0.1″ pitch header, and you flick the slide switch across to the TCXO position.
It doesn’t get any easier than this, to modify an instrument for an external 10 MHz reference!
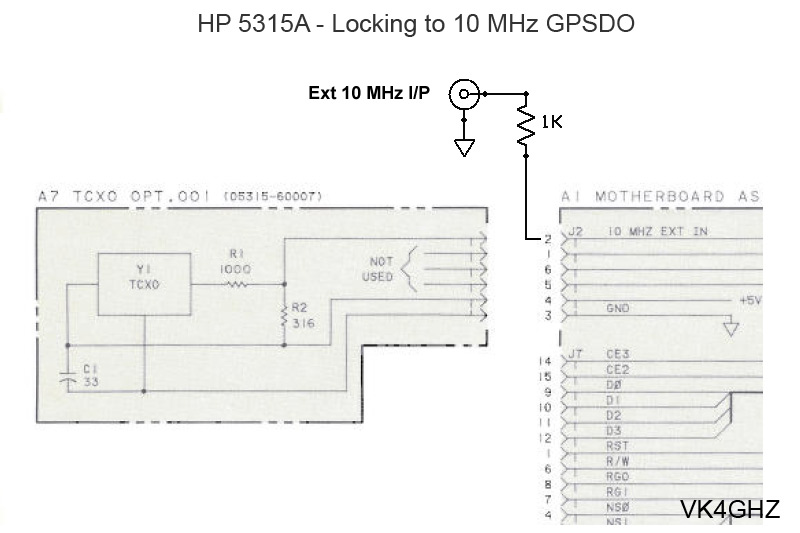
Above: We connect our external 10 MHz input via a 1k resistor to header pin2, with pin 3 being GND

Above: Switch in EXT TCXO position
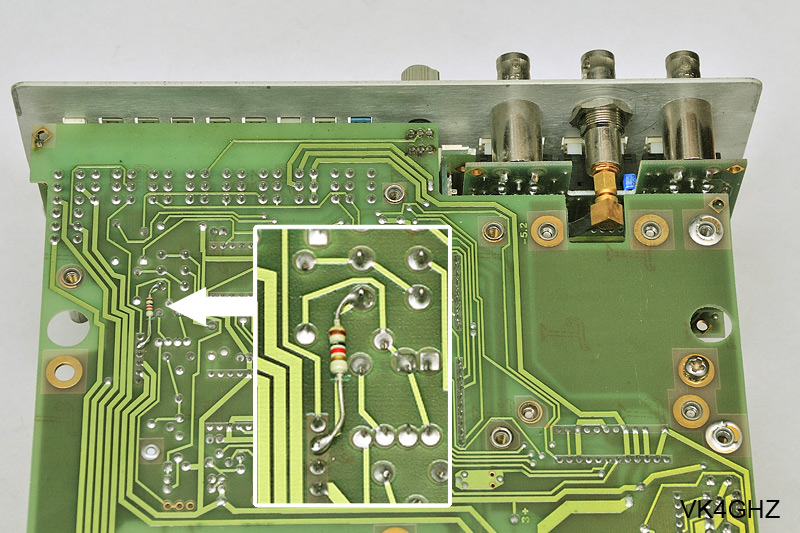
Above: A 1k 1/4w resistor is added in series with the external 10 MHz feed, simulating the TCXO (refer to schematic above)
Note that the PCB track, (which runs from the switch to pin 2 of the header), underneath the resistor has been cut.
You could solder the resistor inline to the header plug, but this method is more mechanically sound.
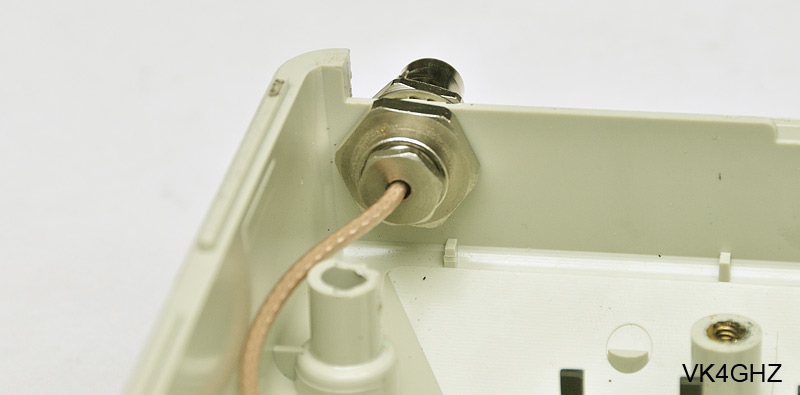
Above: A BNC socket (bulkhead mount for RG316) from the junk box is fitted to the rear panel
Be careful when drilling the plastic case.
Take it slowly, start with a small drill bit (~3mm), and gradually increment the drill bit size up to suit the connector.
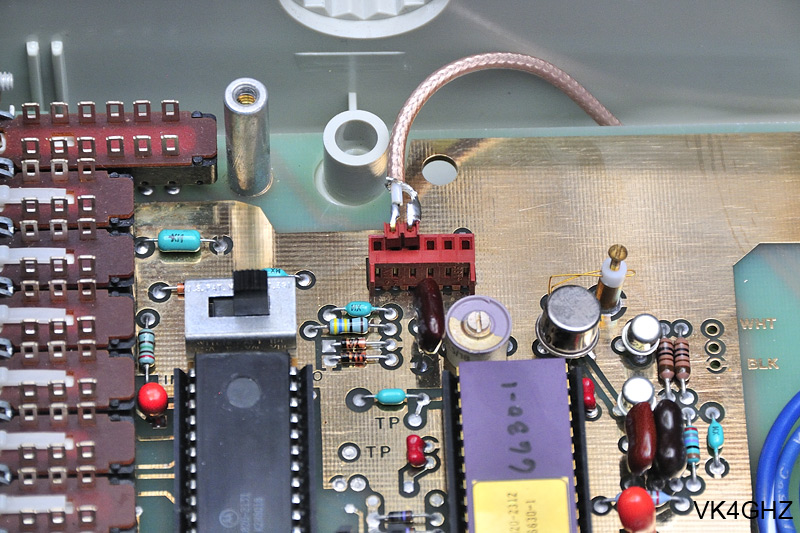
Above: Coax tail is soldered to a 2-pin 0.1″ launcher, made from common 0.1″ terminal strips.
On the cheap, you could just use some tinned copper wire (TCW) and poke that into the header socket.
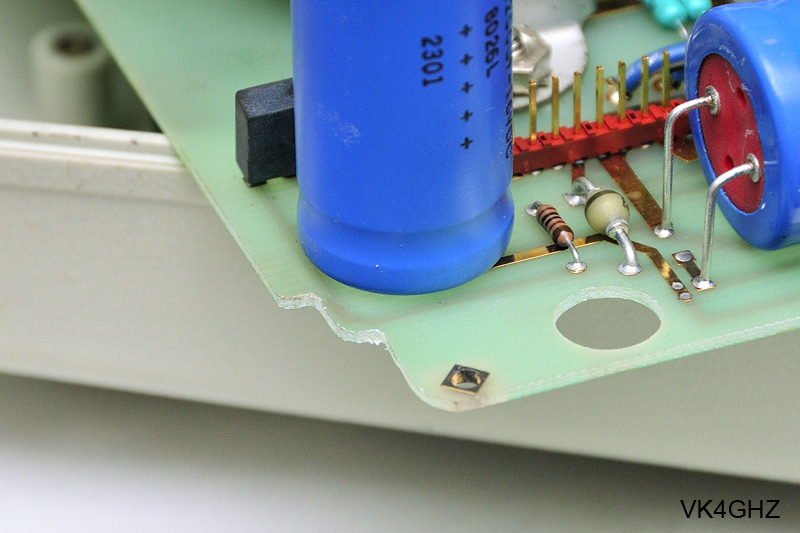
Above: It’s tight for space! PCB is trimmed to make it easy to reinsert after BNC is fitted in place.
Be careful of the PCB track!
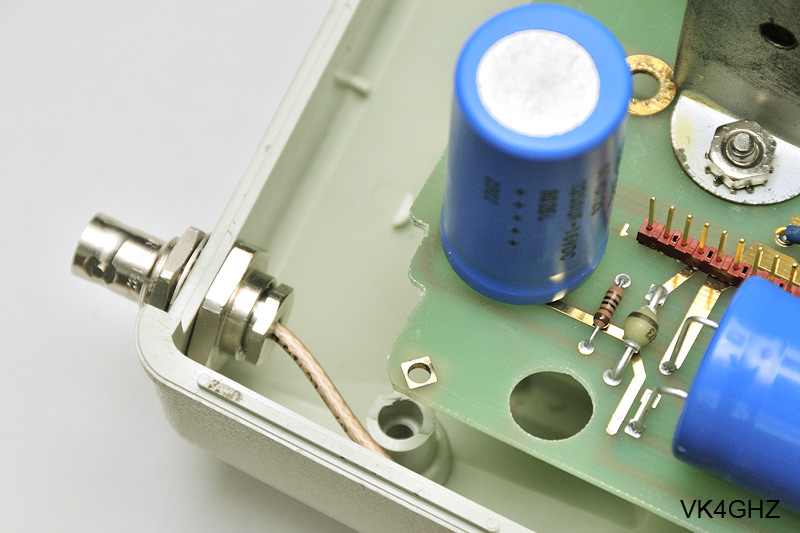
Above: Another option – just considered then, when I was writing this, might be to extend the large hole to the edge, so the PCB can slide into position.
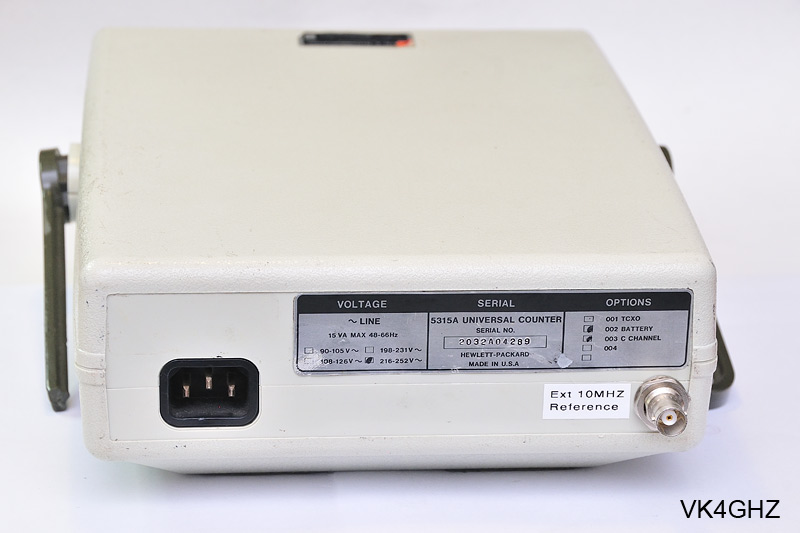
Above: BNC socket on rear panel, and labeled accordingly
All up, this modification took less than 1 hour to complete.
A 1 GHz frequency counter, obtainable for under $100, that can now be externally locked. 😀
I have a few ex-surplus HP test instruments now, and they are well engineered, solid, and built to last.
… except for, maybe, the carry handles!
If you are looking for a 1 GHz counter, and happen to come across one of these, get it!
