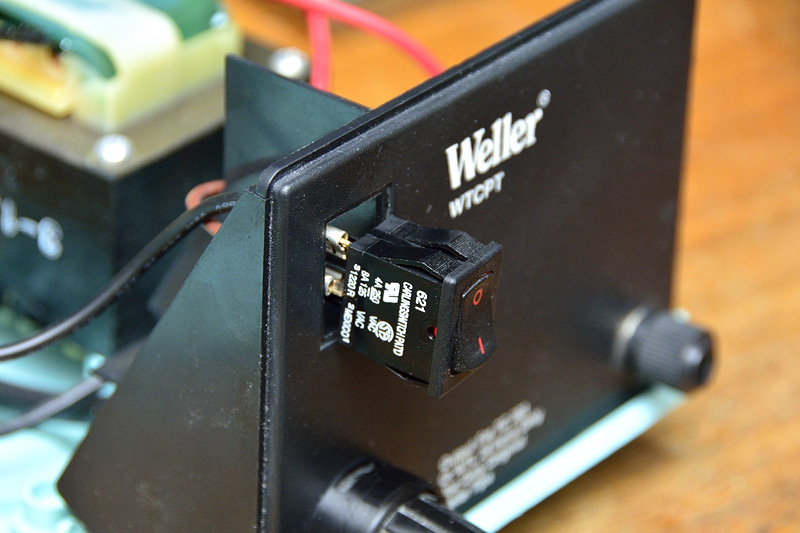
This simple modification replaces the standard rocker switch with an illuminated type rocker switch that is a drop-in replacement.
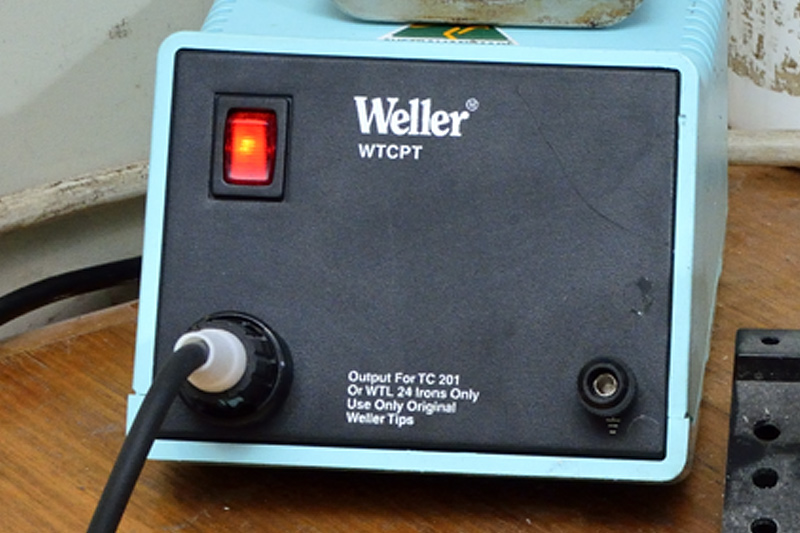
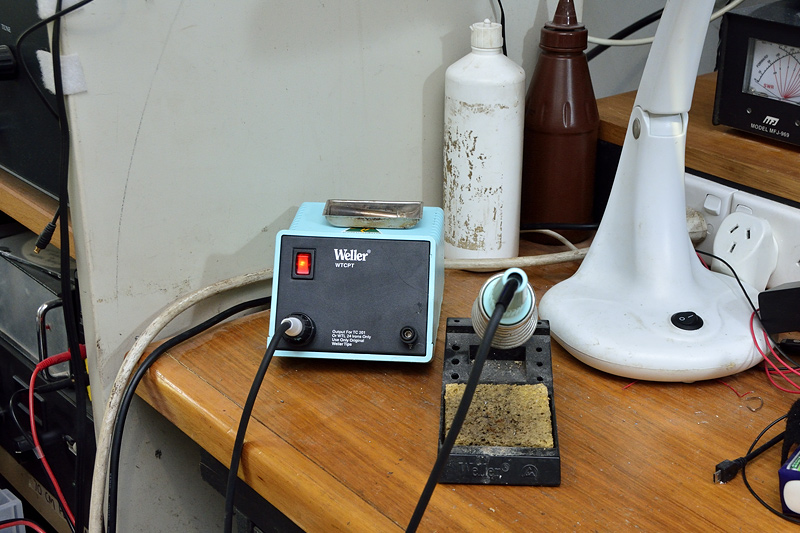
One annoying thing about the Weller WTCPT soldering iron is, there is no in-your-face indication it’s on, and it’s easy to inadvertently leave it on.
Whilst there is a red mark on the top of the rocker switch, you need to be virtually on top of it to see it.
If you’re at arms length away – forget it!
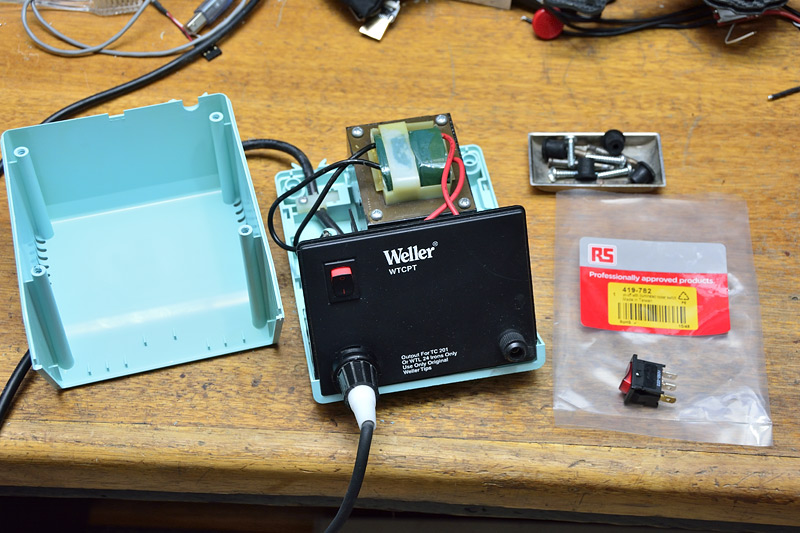
To do this mod you will need:
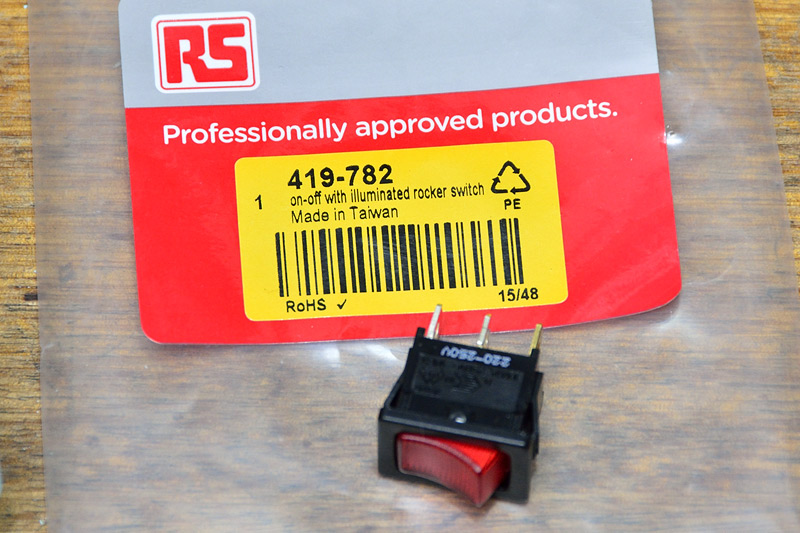
• Illuminated Red SPST Rocker Switch, On-Off, 10 A@ 125 VAC 19.2mm x 13mm
RS part number 419-782 $3.38 + GST. (Free delivery with on-line orders)
• 12 cm of mains rated wire
• 4.8 mm female spade lug (tight ass option: directly solder to switch terminal)
• “BP” mains connector (we’re dealing with mains – so do it properly)
• heat shrink (optional)
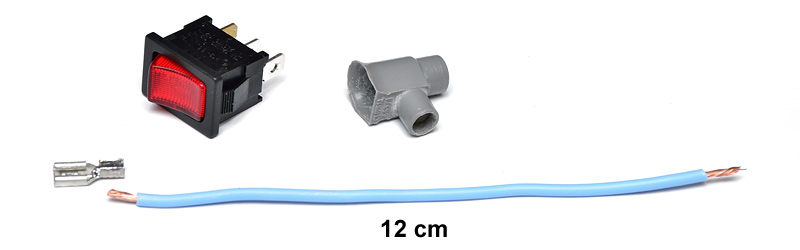
Unless you have a second soldering iron (think about it!), solder 12 cm of wire to the spade lug first.
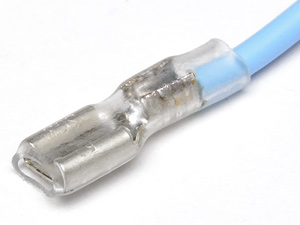
As a matter of routine, I will heat shrink over all the spade connectors.
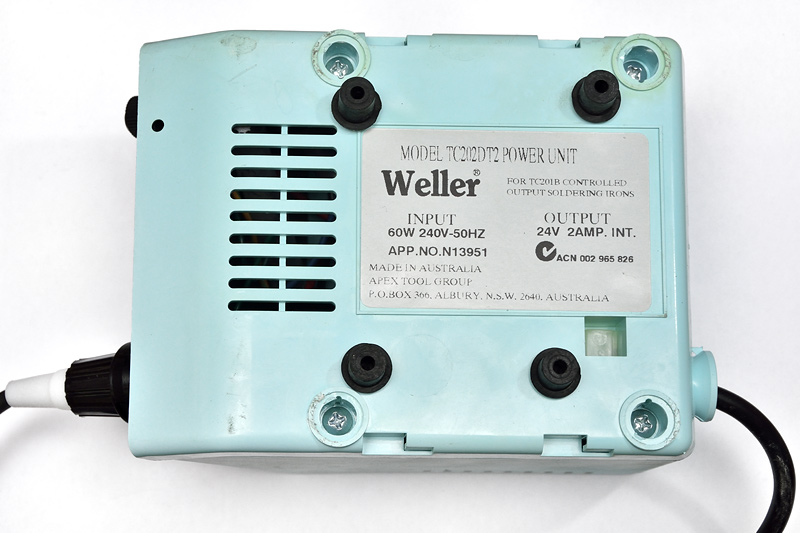
Now, you can disconnect and disassemble the iron by removing the four screws hiding under the rubber feet.
The standard rocker switch is a typical snap fit, and pops out with pressing down on the mounting ears.
To power the neon indicator we need to take off the neutral using the pre-prepared 12 cm lead.
Cut off the existing termination (this gets rid if the spiral), and splice the three wires together, covering with the “BP” connector:
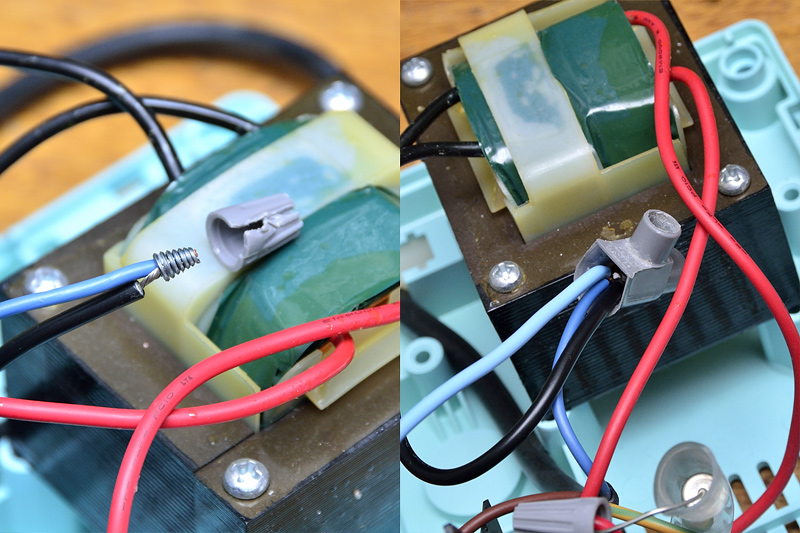
Diagram of switch:

• pin 1 – mains active (brown wire)
• pin 2 – to transformer (black wire)
• pin 3 – mains neutral
Now it’s plug ‘n play.
So that the iron is “on” in the down position (as per standard), orientate the switch so that pin 1 (mains active) faces the top.

Re-assemble iron and behold!
Very easy to see if it’s on or off.