My 20 year old Diamond X-500 2/70 antenna stopped working earlier this year.
Not wanting to muck around, I simply ordered a new X-700 from Strictly Ham the following day.
I thought 20 years was a great run for an antenna, outside in the elements all this time.
Six months on, and I’ve finally found a few hours to have a closer look at the insides of the X-500, and attempt to revive it.
The antenna’s construction is straight forward, but cracking the bastard open is the hard bit!
I won’t attempt to post pictures of everything, (because I forgot to shoot some of the steps!), but this will give you a good idea of what is involved.

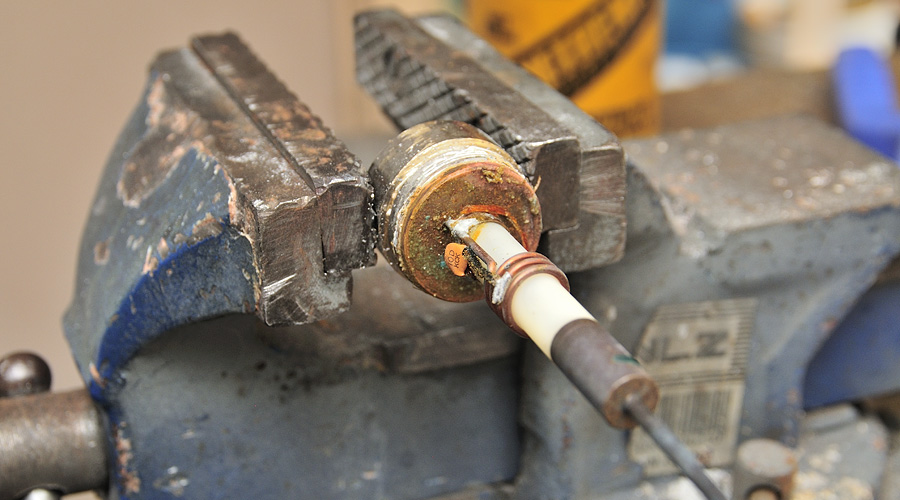
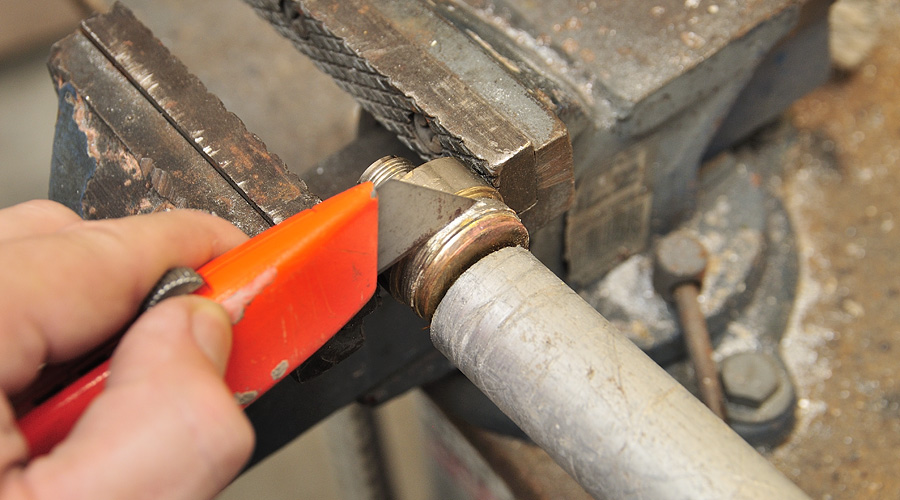
Above: The brass end with the N connector screws into the aluminium base tube section.
Even clamping this in a vice, and attempting to turn the aluminium tube section failed.
The brass end screws into the tube, but is held with adhesive as well.
I found that by carefully hacksawing 3-4mm off the end of the tube made it much easier to unscrew and separate the two.
Carefully cut around the perimeter, and use a screw driver to lever off, revealing the threaded brass end section.
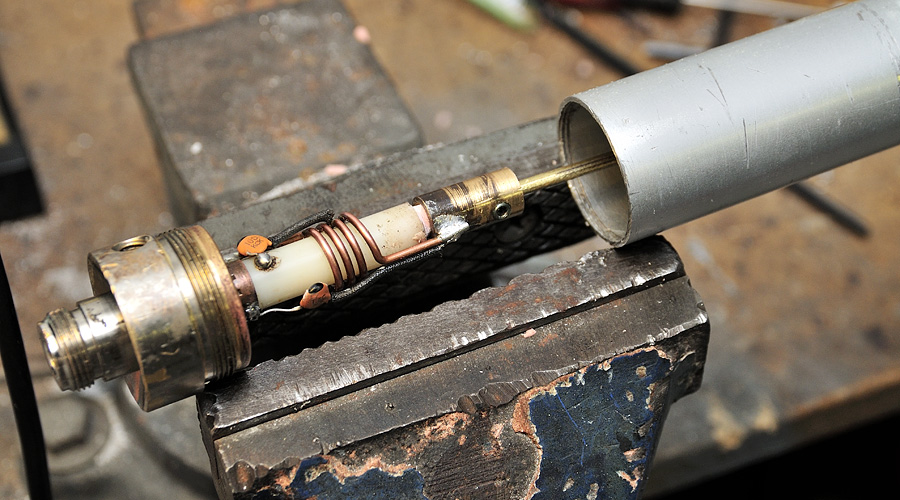
Above: This is what’s inside! A tapped coil, a 10pF ceramic in series with coax inner, and a 1.5pF shunt.
With these standard ceramic caps, you can understand why these antennas only have a 200W PEP rating.
Above: The fibreglass radome section is glued into the base aluminium tube.

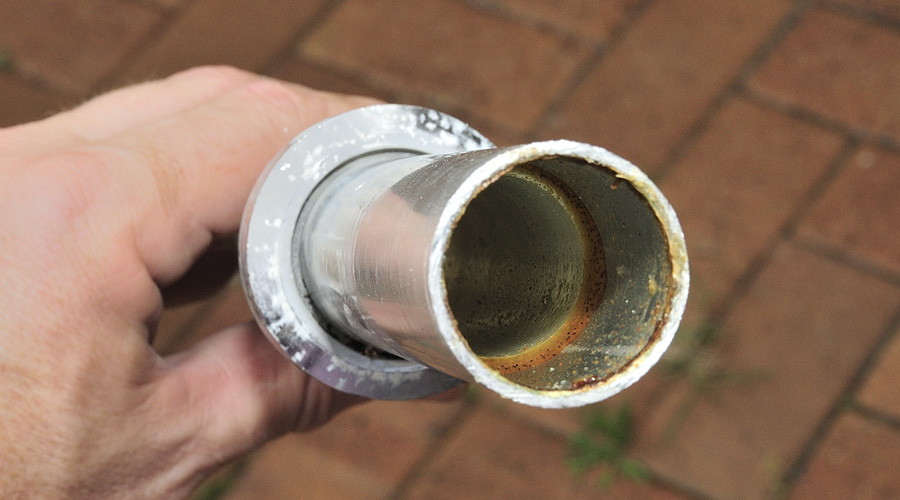
Above: 20 years of moisture and gunk build up inside these things.
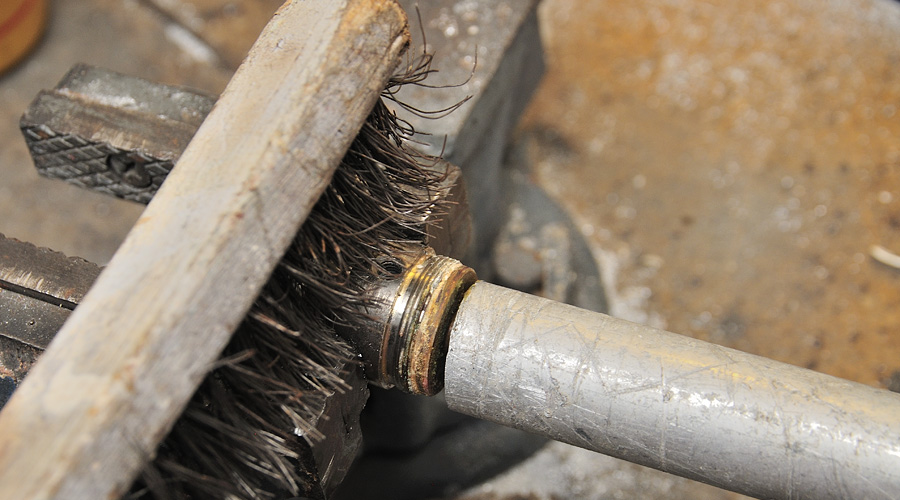
Above: Use a wire brush to remove the adhesive and gunk off the threaded end.
Ally tube in place to protect the other components whilst brushing.
Above: Use a Stanley knife to get out the adhesive gunk from between the thread.
Then, using an electrical contact cleaner spray and toothbrush, everything here was cleaned.
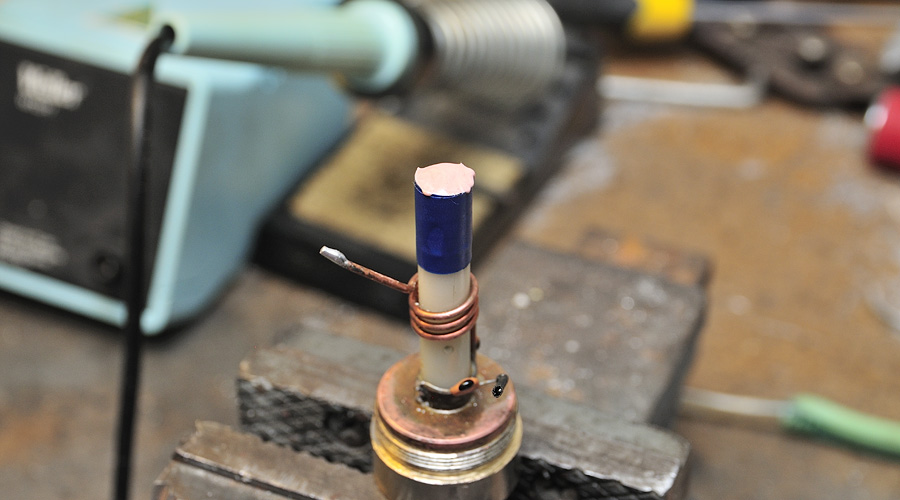
I was fully expecting a faulty capacitor, and in order to isolate and test, I desoldered both the coil and 1.5pF capacitor from the brass joiner.

Unfortunately I applied too much heat (using a large Weller 700F tip), and the end of the nylon former (on which the brass end/joiner screwed on to) became soft and melted out of shape.
(I thought real nylon wasn’t meant to do this?!!!)
Anyway, to cut a long story short, I had to reform the end of this nylon former so the copper end could be screwed back on, keeping the dimensions the same.
If you are more careful than what I was, you will avoid this hassle, but I will include this detail, in case anyone else falls into the same trap.

Above: The remaining nylon (I think it’s nylon?) was drilled/scraped out of the brass piece.
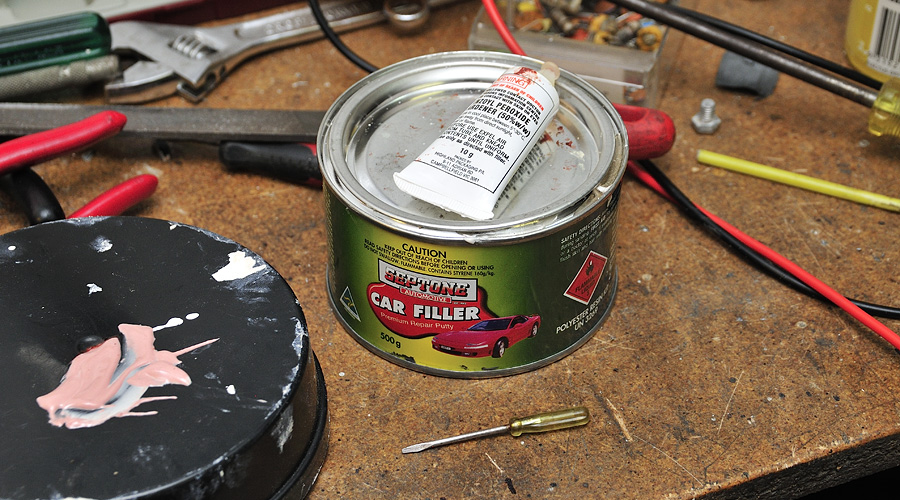
Above: Using electrical tape to form the sides, a small amount of 2-part automotive bog was used to fill in the bit that melted off!
Under this, for strength, I drilled a hole into the nylon and then banged in a small fibreglass plug (an inch or so off an old helical whip).
Around this, I added the bog.
All of this could have been avoided if I was a bit more careful in the beginning! 😳
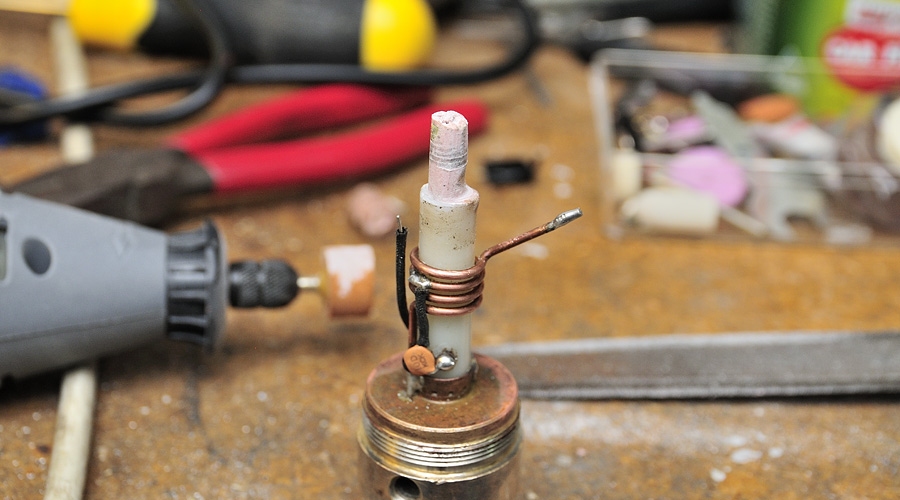
Above: the reformed end.
The new end was rounded down to size using an Ozito grinding tool, and a flat file. The brass end was tightly fitted on with a bang of a hammer!
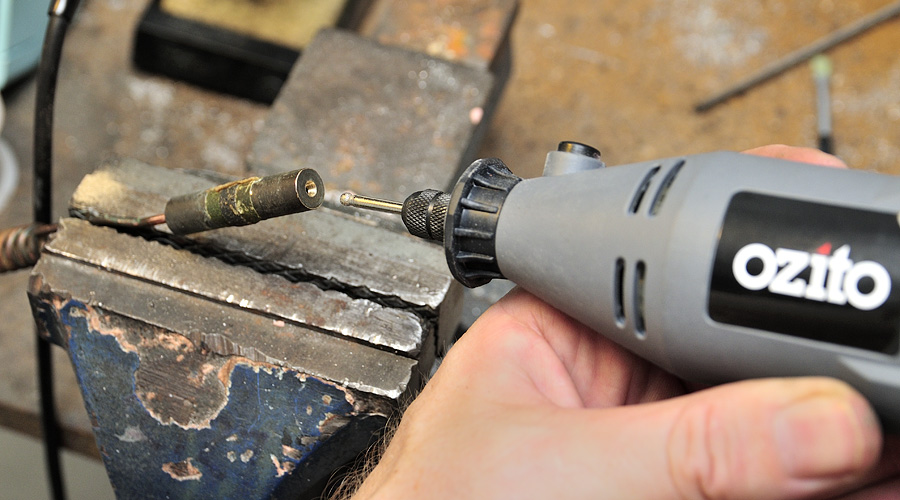
Above: A “Dremel” type tool, and this bit, was perfect for cleaning the gunk out of all the antenna’s brass joining sections.
That, along with using a flat file to clean the rod sections will ensure a good electrical connection.
(My tool is actually an “Ozito” brand tool from Bunnings, which wasn’t that expensive, and has many useful tips.)
Nothing had actually failed inside the X-500, but giving all the internal components a good clean/grind/file, restored the antenna to a good-as-new condition.
Enough thread was left on the base tube, allowing it to be screwed back on.
In hindsight, I was hacksaw off a smaller piece, which would leave even more thread to work with.
Once reassembled, measured SWR on 2M was 1.05:1 and on 70cm was 1.1:1, and I could trigger all the repeaters that I could always trigger/hear.
Good as new.
This article originally published 18-Nov-2010 http://www.vklogger.com/forum/viewtopic.php?f=11&t=9556.
See forum topic for follow on discussion.