Micro MinimOSD is a tiny On-Screen Display board that works with the Naze32 flight controller and came from Buzz Hobbies in Perth.
First thing to do was solder up Video In, GND, and Video Out wires up to the solder pads with some hookup wire.

For easy pin identification later, header connector was labeled ‘D T R + – -‘ indicating DTR, TXD, RXD. +5V, GND GND pins.
The OSD was then covered in clear heat shrink:
So how much +5v current does the Micro Minum actually draw?
It’s always best to find these things out for yourself, rather than believe the BS often found on the internet. 😉
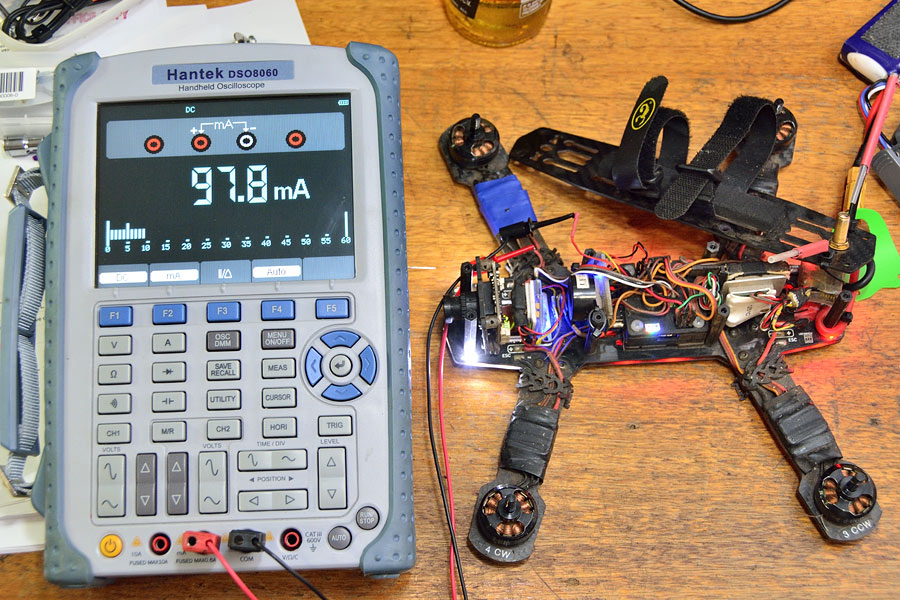
Just under 100mA.
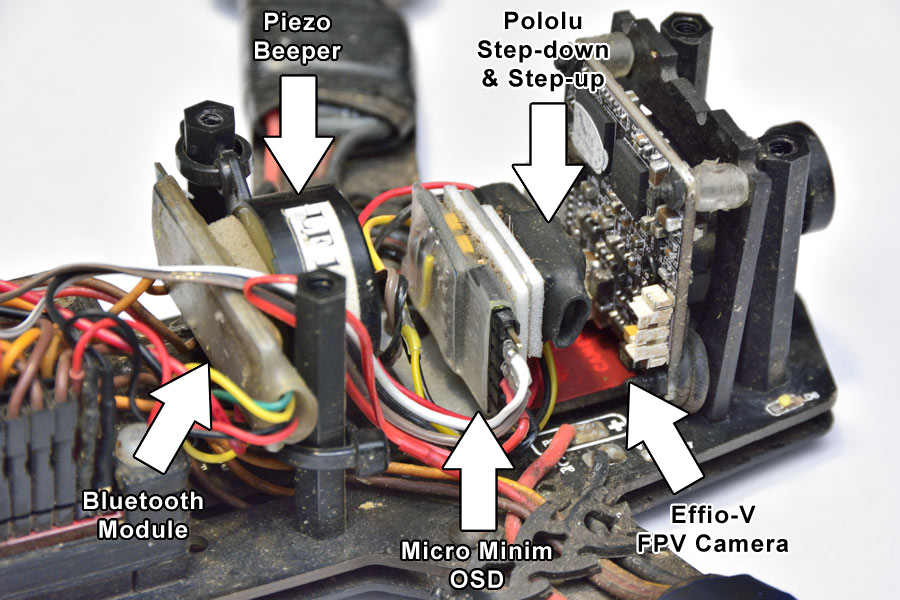
Not wanting to increase to the load of the ZTW 12A SimonK ESC BEC that is already powering the Naze32, the Bluetooth adapter, and the FRSky receiver, the Micro MinimOSD will be powered off a separate ZTW ESC. Why not, there are three others?
If you were running a KISS or OPTO ESC that do not have a 5V BEC output, obviously a regulator to provide the 5V, such as the Pololu 5V step-down will be needed.
GND, TX and RX data from the Naze32 connect to this header connector, as well as +5v which comes from the ESC.
Mounting these boards within a mini-quad can present some challenges, so a small ‘L’ bracket was fabricated out of 1.2mm aluminium sheet, weighing almost nothing!
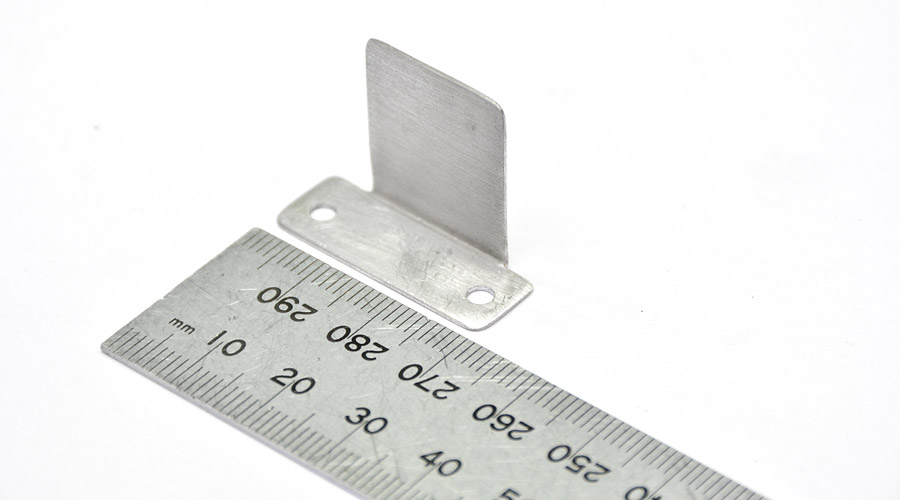
Mounting holes for this bracket align with the two inner-most front arm bolts, so it mounts immediately behind the FPV camera.
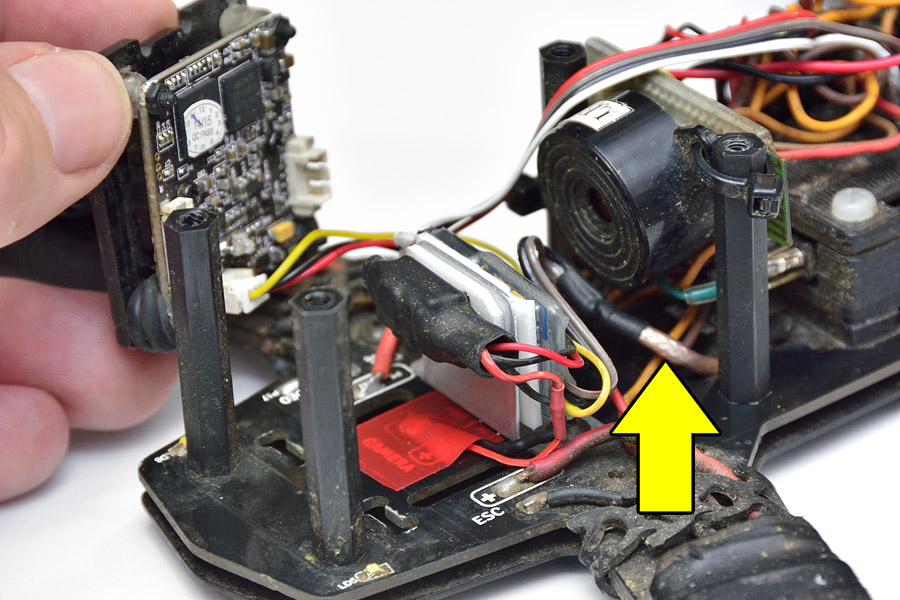
Here we see the Micro MinimOSD mounted on the rear face of the bracket using double-sided tape:
On the other side of the bracket is a pair of Pololu regulators that provide a regulated +12V supply to the FPV camera.
ie: Lipo batt volts > step down to +5V > step-up to +12V
Mounting the OSD close to the FPV camera means that hookup wires can be relatively short.
It’s always good practice to run RF down coaxial cable, so the OSD’s video out connects to RG-316 coax that runs in between the 3mm gap between the PDB and lower plate.
Video is a ~ 5MHz wide RF signal, so it’s a good idea not to use the Blackout’s video points, even though they exist, which basically run the video down the unshielded copper trace.
It was a good idea by Blackout, but…
Ever wondered why some people have lines and all sorts of rubbish getting into their FPV feeds? 😉
The RG-316 video cable pops out down the rear end, and via short hookup wire, goes to the VTX connector.
Video Transmitter (VTX) is mounted on the top plate of the Blackout Mini H quad, and is easily disconnected.
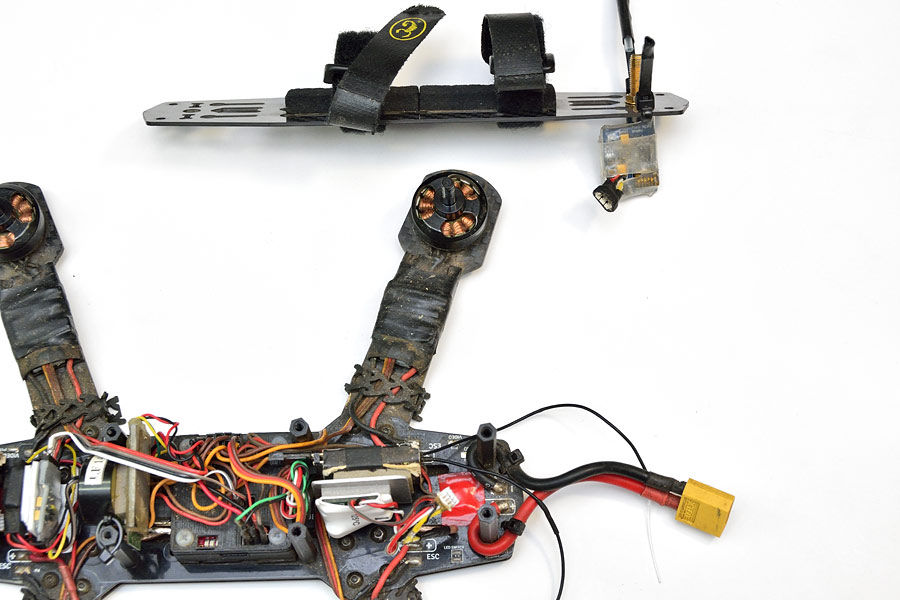
The standard short SMA jack on the VTX has been replaced with a longer launcher style SMA jack, so that the jack itself mounts through the carbon fiber top plate:
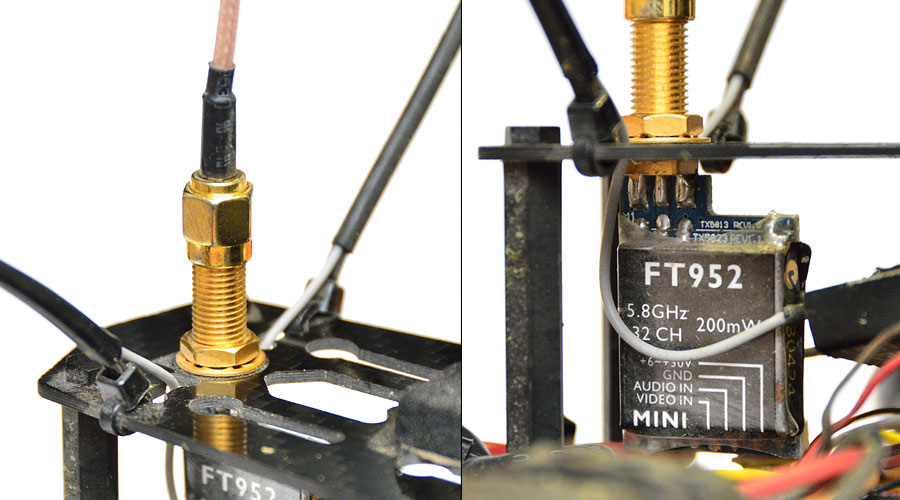
This means the VTX board itself does not have any strain or stress (the barrel of the SMA takes all of this), and there are no lossy patch leads or adapters in the path, so full VTX power appears at the antenna connector.
🙂