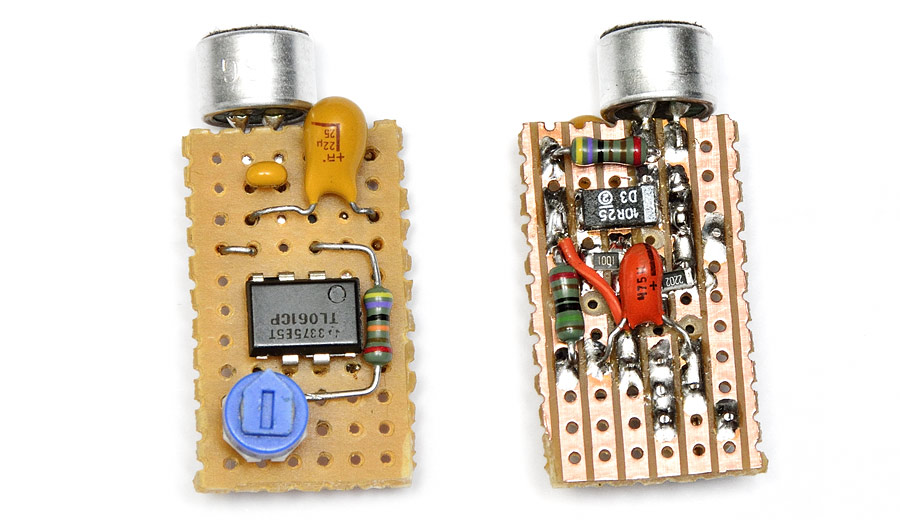
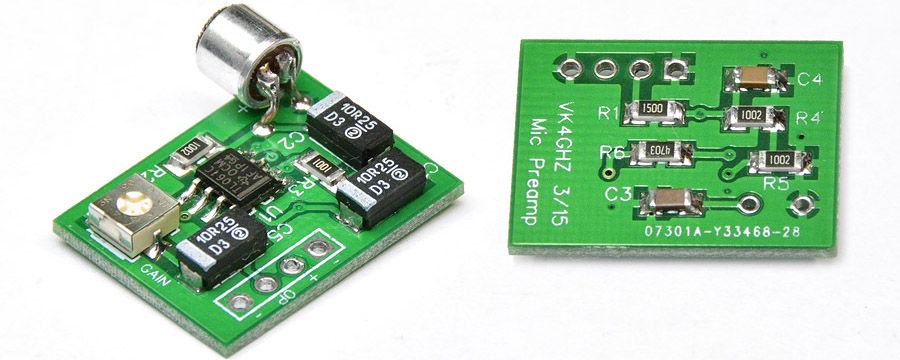
Following on from the prototype FPV microphone preamplifier assembled on Veroboard, a double-sided PCB was designed in DipTrace and the gerber files were sent to iTead studio, where 10 PCBs can be made for a paltry USD$10 + postage.
11 boards were actually received. Bonus!
This PCB is quite small at only 23 x18mm.

The 3-D model render of the PCB in DipTrace:

SMD resistors and capacitors are 1206 size SMD devices, and the TL-061 Op Amp is in a SOIC-8 package.
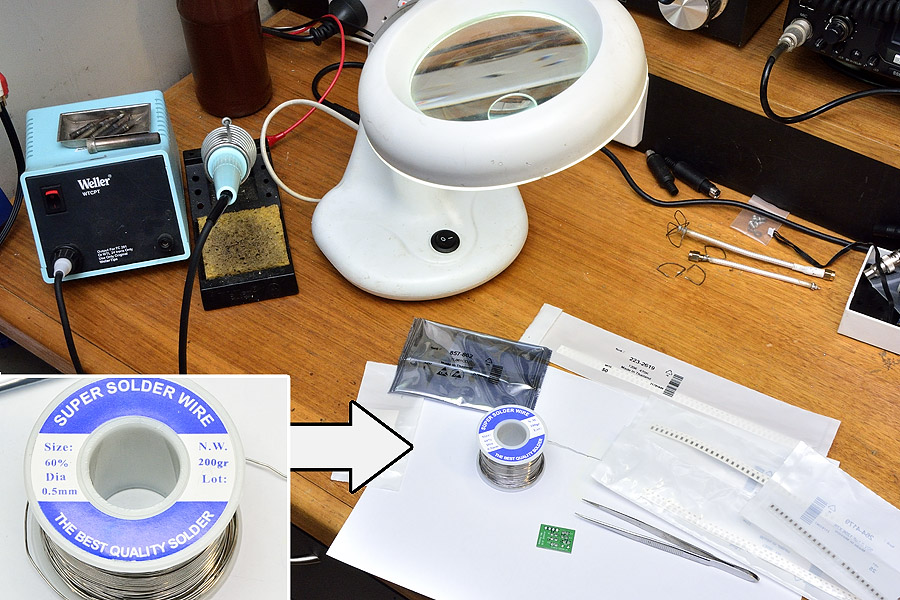
Working with SMD components is not that hard, providing you have some good basic tools, such as a Weller soldering iron with a small tip suitable for SMD, a maggy lamp, tweezers, and use fine solder such as 0.5mm diameter:
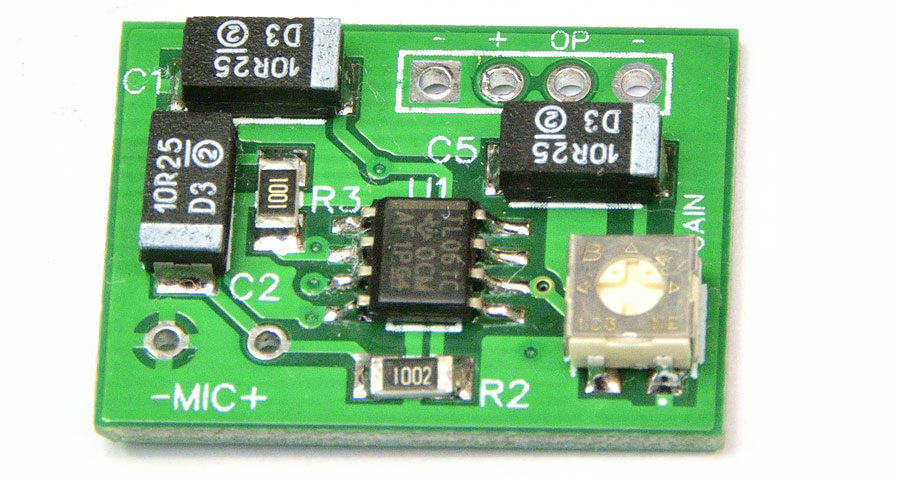
The real-life PCB assembled:
Wire tails added for +ve and GND in from LiPo battery, and +ve and GND and audio out to VTX, then covered in heatshrink:
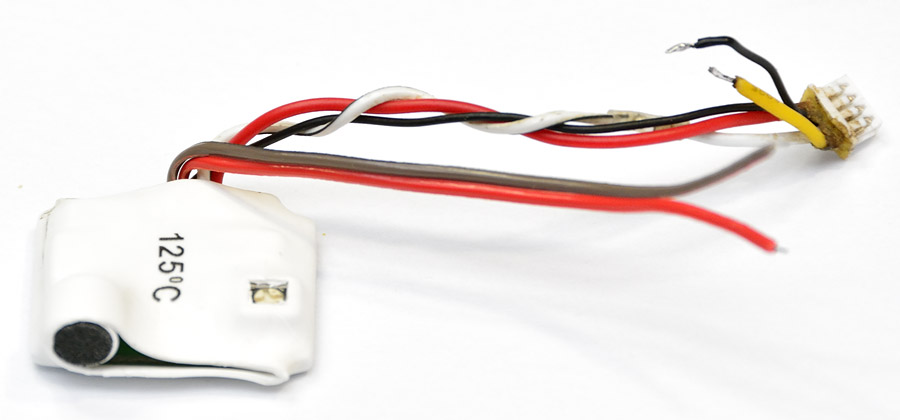
A cutout is made in the heatshrink with a Stanley knife so that the level trimpot can be adjusted:
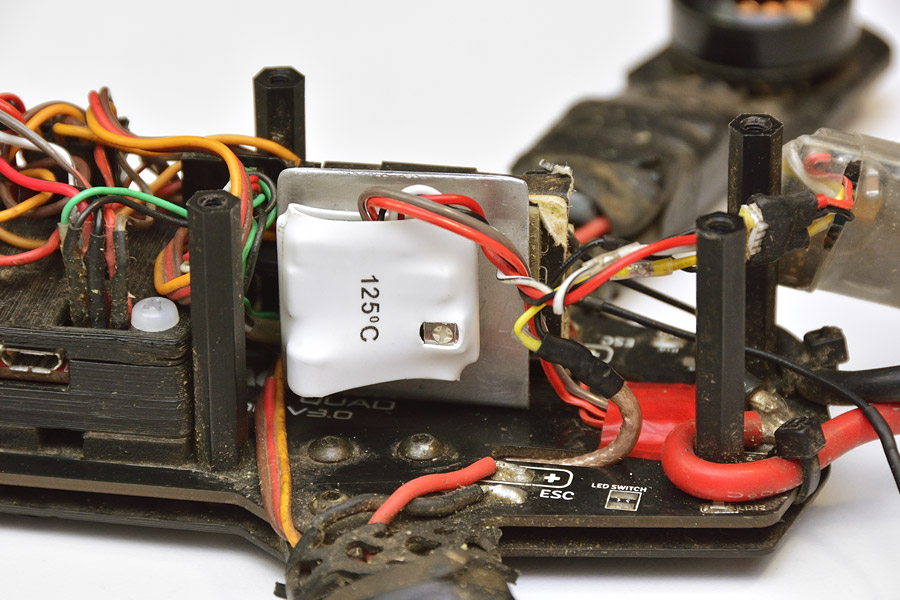
Mounted on one side of an aluminium ‘L’ bracket at the rear of the Blackout Mini H quad, near the VTX:
The video from the FPV camera comes via RG-316 coax cable which runs in between the PDB and lower plate.
Even though it’s there, it’s not a good idea to run video down the PDB copper trace.
Video is basically an RF signal (typically 5 MHz wide) and should be distributed by a shielded cable, not an open copper trace.
Mounted on the other side of this ‘L’ bracket is the FrSky D4R receiver:

Having real-time audio can add an extra dimension to your FPV experience, as seen here in this maiden flight of the prototype mic preamp.