In a quest to reduce unnecessary weight, excess cable is removed from both a DJI iOSD module and DJI Wookong-M LED module.
Both of these modules have hard-wired leads coming out of them, with moulded connectors at the end.
DJI LED Module
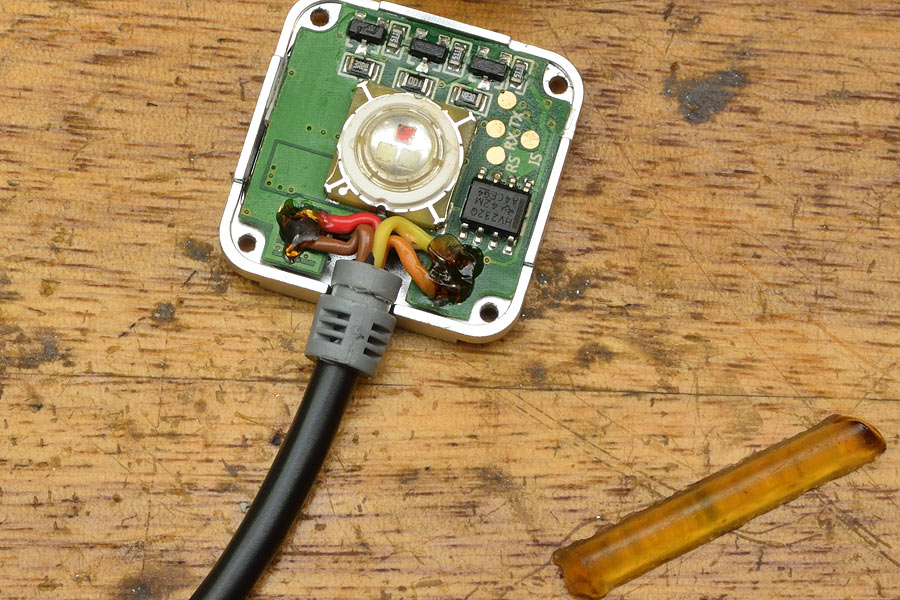
First job was to remove the four screws, and open up the LED module.
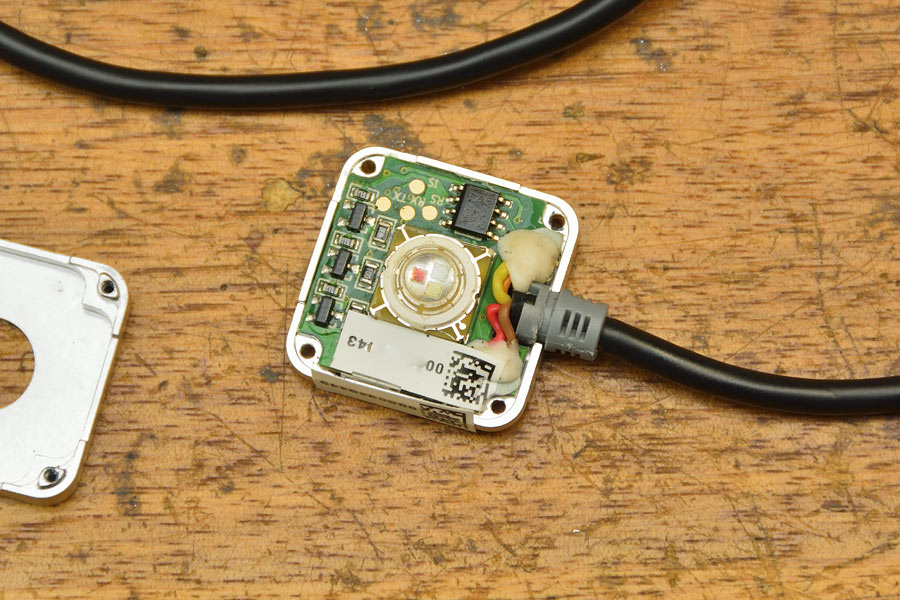
Next, peel off the internal sticker, and then remove the white adhesive covering the solder joints – this is the challenging part!
At first, a Stanley knife can be used, carefully, to remove the excess.
After making some inroads, your finger nails become handy for “getting in there”.
(Not wanting to use a small flat-bladed screwdriver, to avoid scraping the PCB soldermask.)
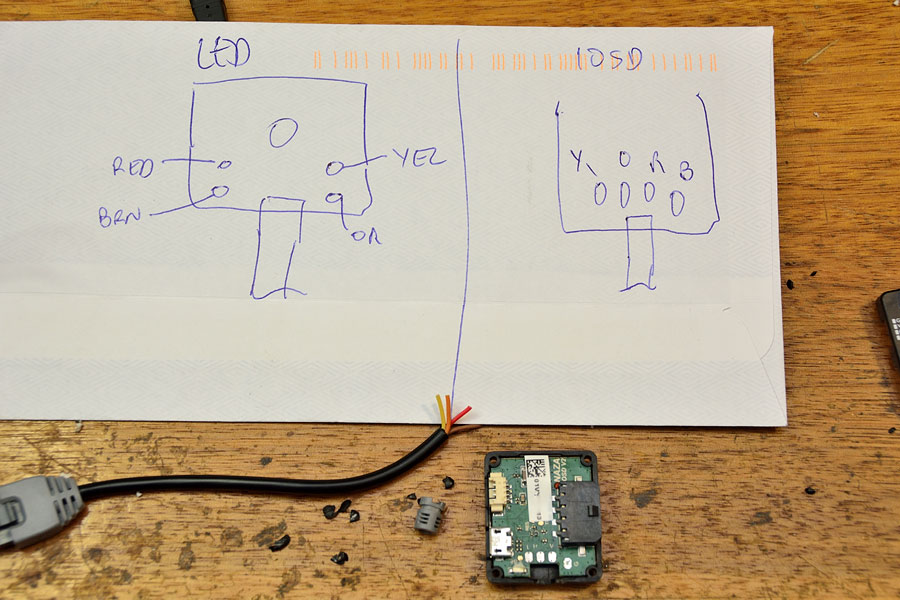
At this stage it’s always a good idea to take a photo of what you’re working on, so you know what went where!
Or, if you like destroying forests, draw a diagram on a dead tree.
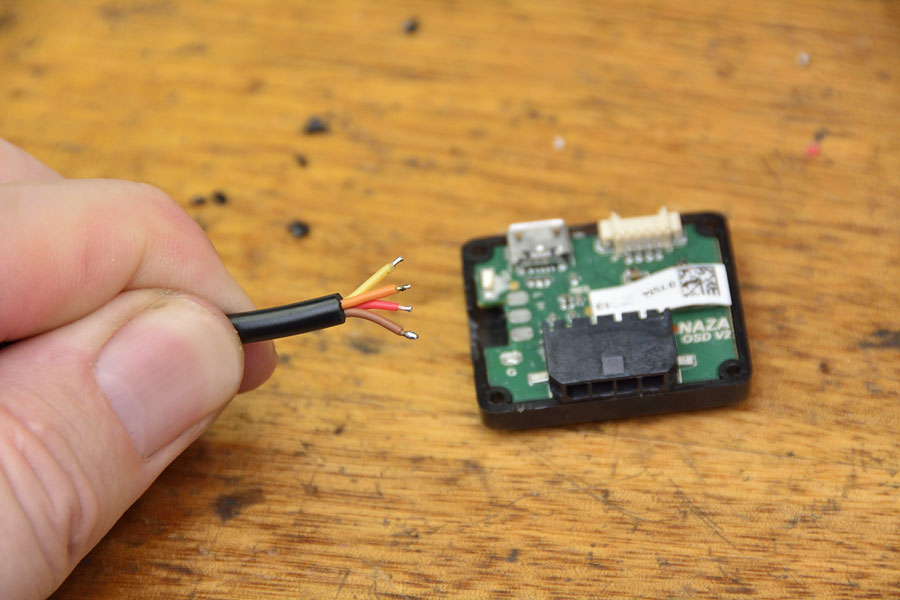
With the white adhesive removed, the four wires are desoldered from the PCB, and residual solder removed from the pads with desoldering wick.
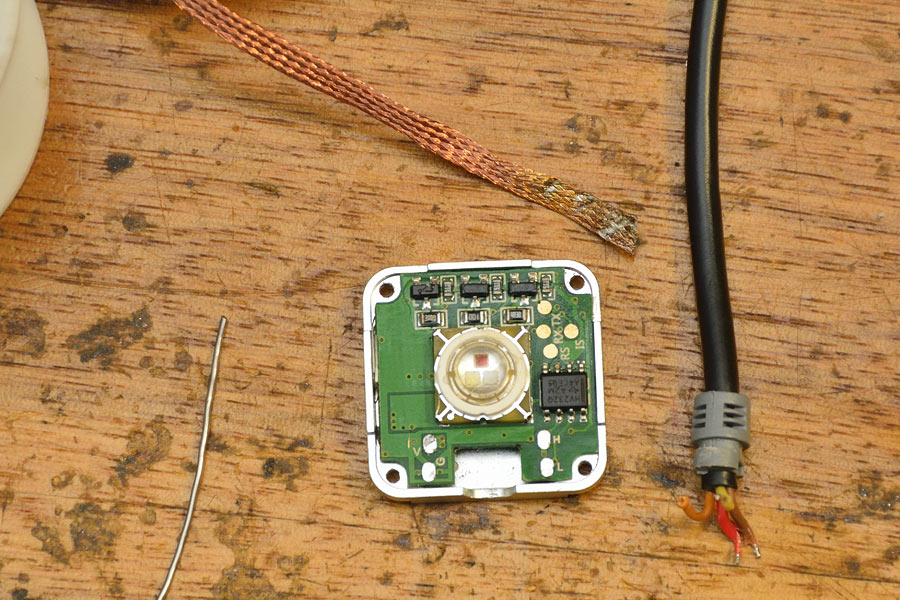
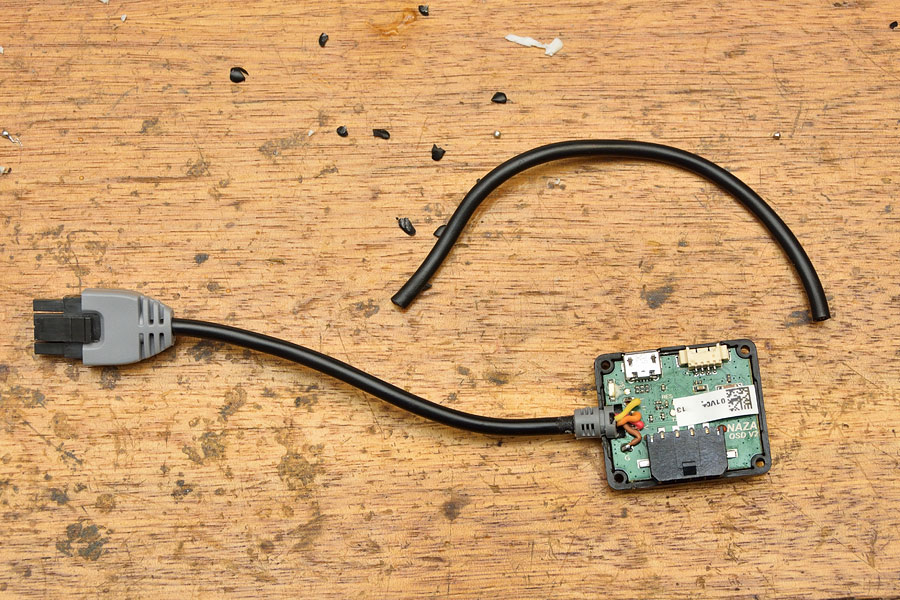
The length of cable really required was measured out, and the excess cut off.
Remove the grommet off the excess, and fit over the remaining cable end.
Getting the grommet back on is easier with a small dob of detergent as a lubricant.

Wipe away any residual detergent once it’s on.
It’s a simple matter of tinning the wires, and soldering back to the PCB.
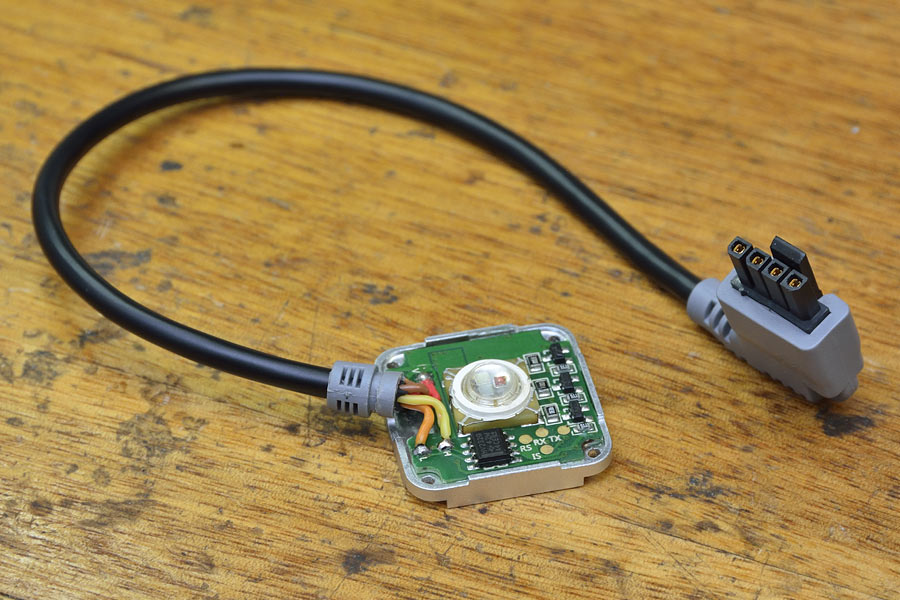
Exposed solder joints are covered with an adhesive. (LED enclosure is metallic)
This PCB re-work adhesive is designed to be melted with the tip of a soldering iron, but a hot melt glue gun could be used as well.
What was saved by halving the length of the LED cable?
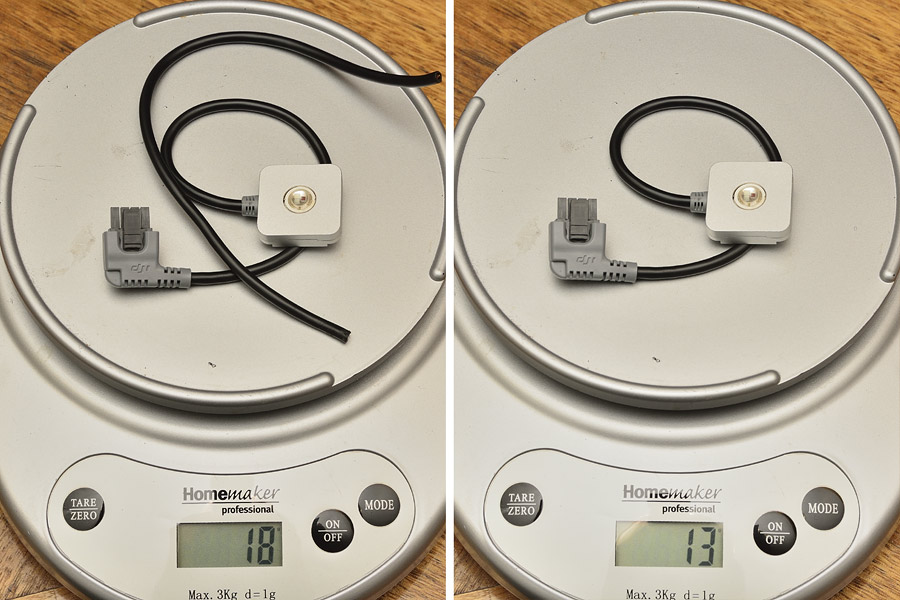
Hey, 5 grams is 5 grams!
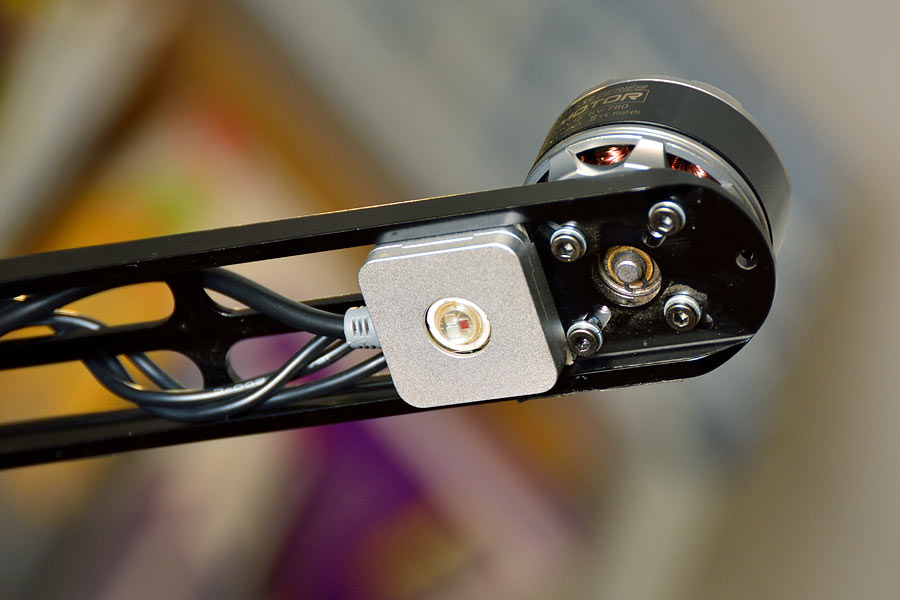
LED module mounted back under motor #3.
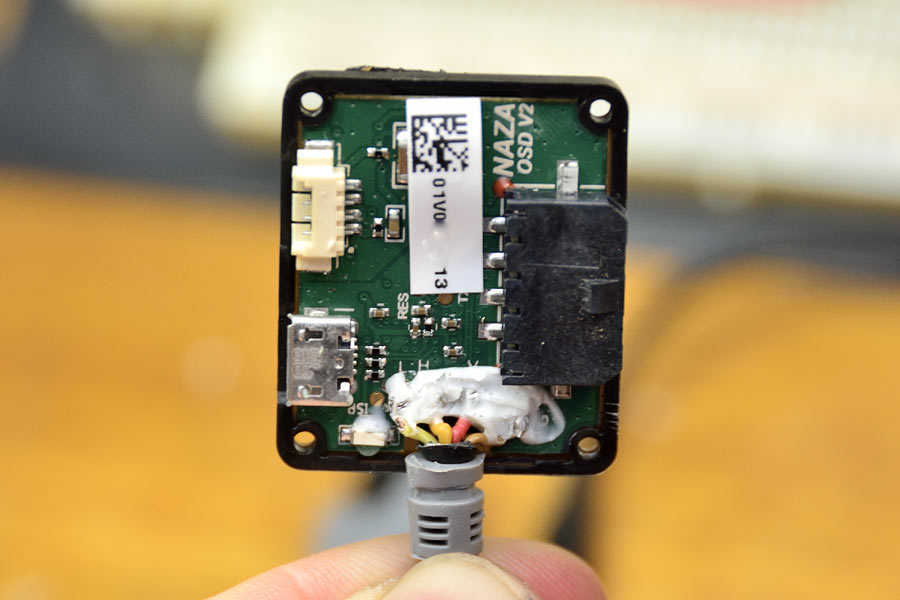
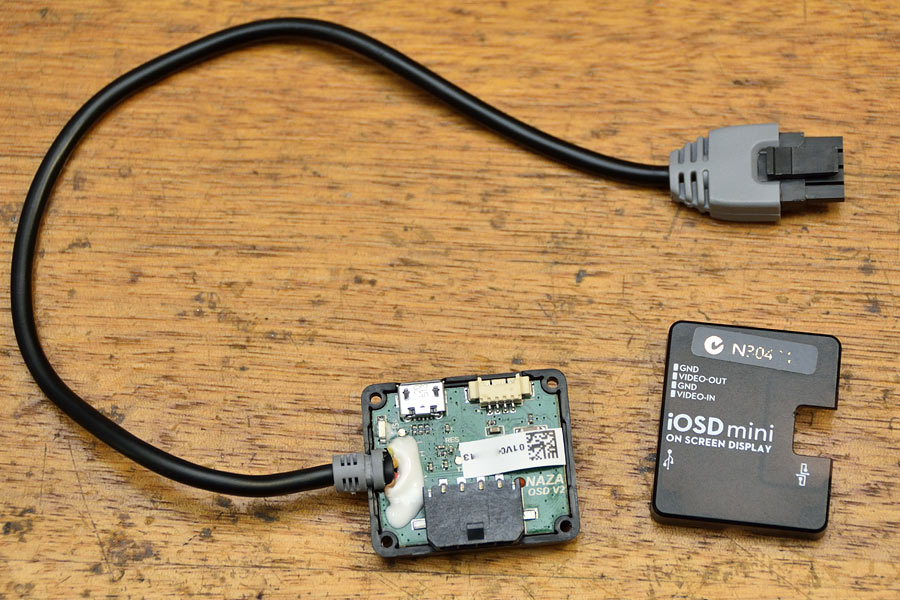
DJI iOSD Module
Same procedure as for the LED module.
• open up
• remove adhesive
• make a note of the wires
• de-solder wires
• cut cable length to suit
• refit grommet
• clean up pads and remove solder with de-soldering braid
• prep wires & tin
With excess cable removed, cable from the iOSD to the Wookong-M PMU is how it should be.
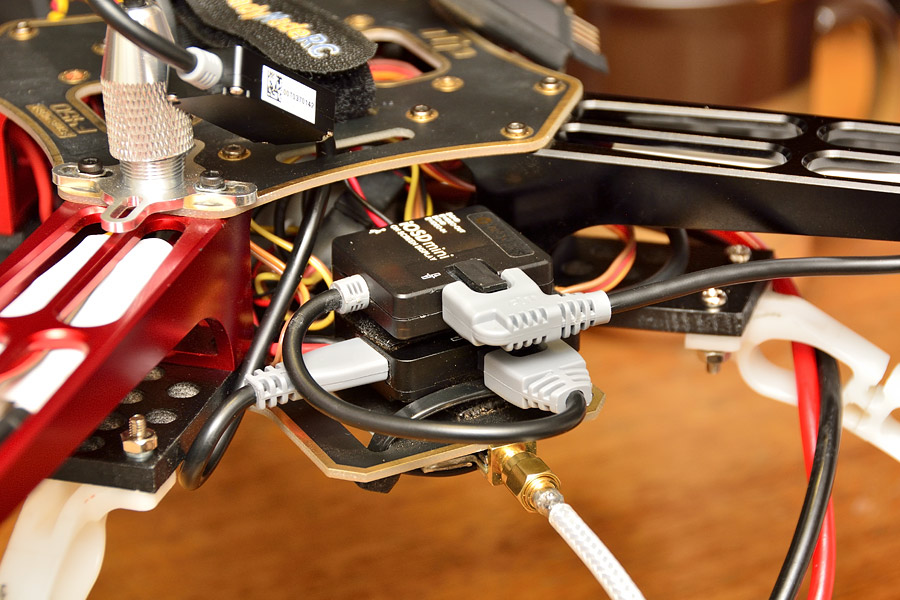
CAN-Bus lead running off to the right goes to the LED module on arm #3.
All up, 7 grams of excess cable was removed.
Whilst not significant, every bit helps, and the wiring is much neater.
🙂